


How to Record Your Screen with QuickTime Player
Posted 07/11/2012 at 11:02am | by Cory Bohon
170 39Share

When Apple refreshed QuickTime Player in OS X Snow Leopard, they added a feature that many users didn’t know about: screen recording. Without using any fancy software, you can create a video of your Mac’s screen, complete with recorded audio from the built-in microphone. This feature can be used to create easy-to-follow screencasts that can be sent to anyone in order to better explain a visual topic.
Today we’ll show you how to put this feature of QuickTime Player X to work.
1. Setting Up the Recording
To begin recording your screen, open QuickTime Player X and select File > New Screen Recording.

A new QuickTime recording window will open. Click on the small triangle disclosure button to tweak a few settings. Here, you can specify which microphone you'll use if you're recording a voiceover, the quality of the video (medium or high), and whether or not the video will show your mouse clicks.
2. Starting and Stopping a Recording
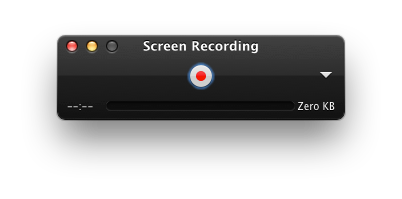
After you have tweaked the settings, press the red Record button to begin capturing your screen. If you selected a microphone input, audio will be captured with the screen recording. You can choose how much of your screen is recorded: click the screen once to capture the entire screen, or click and drag in order to capture only a portion of your display. To finish recording, click the Stop button in the same QuickTime Player recording window that you started the recording from. Don’t worry, this window will be completely invisible in the recording, even though it stays on the screen.
3. Exporting a Screen Capture
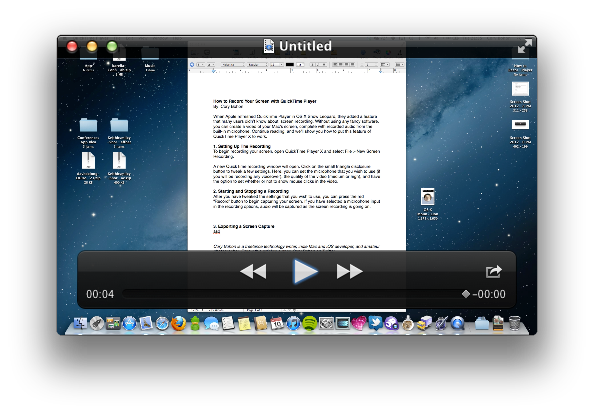
Once you're done recording, you'll be able to preview the video in the QuickTime recording window.
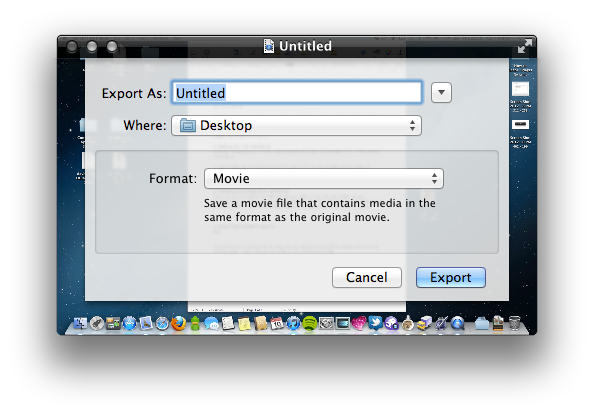
When you're ready to export your masterpiece, press Command-Shift-S (or navigate to File > Export). This opens an Export sheet where you'll specify a filename, save location, and format. Click Export to save.
Cory Bohon is a freelance technology writer, indie Mac and iOS developer, and amateur photographer. Follow this article's author, Cory Bohon on Twitter.